BEST PRACTICES
Live streaming is an excellent way to engage with cleared candidates, but the live component can be a bit intimidating at times. Here are some tips to help you make a great first impression with confidence:
1. Before you start your live stream, it's important to test your equipment. Check your camera and microphone to avoid any unexpected issues when you go live. Ensure you have a clean and non-distracting background, a quiet environment, and good lighting. Finally, be sure that your internet connection is working.
ClearanceJobs Live works best on Google Chrome or Firefox browsers.
2. During your live stream, remember to speak clearly and confidently. Having an outline or notes prepared can help ensure that you cover all the important points you want to discuss during the event - but don't get too scripted or formal. Be yourself! Also, be sure to include interactive elements in your live stream to boost audience engagement through the chat.
3. Having a co-host for your Q&A session is essential. This allows one host to monitor the chat box and pass on questions to the other host, who can then focus on providing answers. You can also take turns in roles as necessary to maintain seamless communication and interaction with your audience.
4. Complete the pre-stream steps to make your livestream most successful. Enable the Stream to make it searchable and visible to candidates, then create a Status Update so that candidates can find the Stream on your recruiter profile. You can also set Stream Reminders for yourself and your co-hosts - schedule them based on your schedule.
5. Incorporate company branding into your Stream by adding a Stream Card, which allows you to choose any image to represent your stream. Additionally, you can include an advertisement that will be displayed during and after the stream, directing viewers to a URL of your choice. Once your stream has concluded, it will be archived in our library for candidates to access and refer back to.
For more information, check out our FAQs for Live.
HOW TO SET UP A STREAM
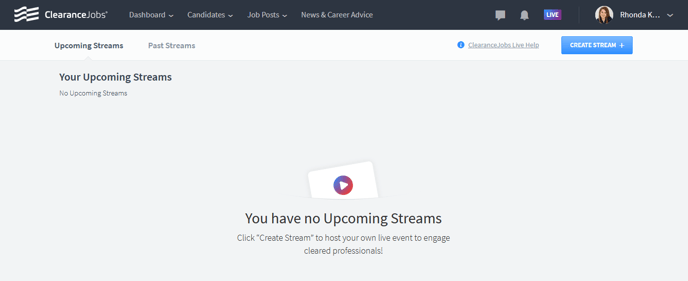
To use Live, click on the "Live" icon you'll see on the right side of the top of your profile, next to your message and notification icons. Once you go to Live, you will see both your upcoming and past Streams.
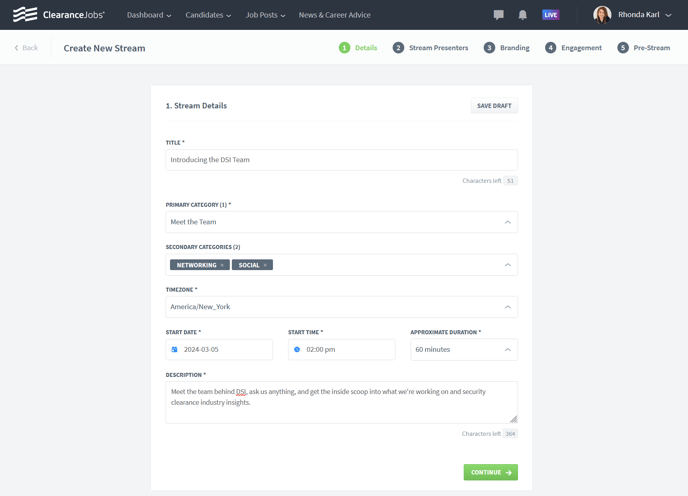
Click the blue "Create Stream" button and you will be navigated to this page to fill out the details for your Stream. Include specific and relevant details to attract the candidates you are hoping to reach and encourage them to participate in your live stream.
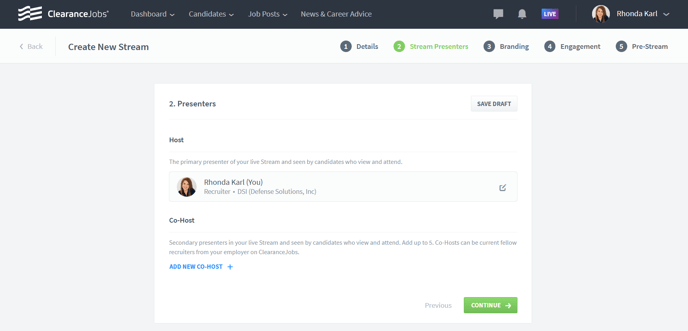
Next, add presenters to your Stream. You will need to select who the Host will be, and then you may also add up to 5 Co-Hosts to the Stream. Co-Hosts do not need to be part of your ClearanceJobs subscription - they will receive a link to the event and will have the same permissions as other Co-Hosts once they join the Stream. Examples include company CEOs, VPs, or other TA leaders.
Hosts and Co-Hosts are able to engage with candidates during the event through the chat and Q&A features.
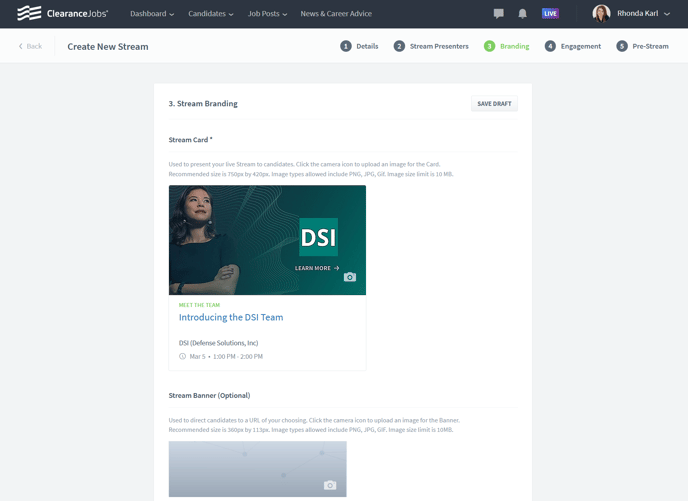
Click "Continue" and add branding to your Stream. This is where you can add your Stream Card, which is the image candidates will see when browsing Streams to attend. Both the Stream Card and Stream Banner are perfect opportunities to showcase your brand. The Stream Brand is an optional image, but is a great tool - plus you can direct candidates to a URL of your choosing when they click on the image.
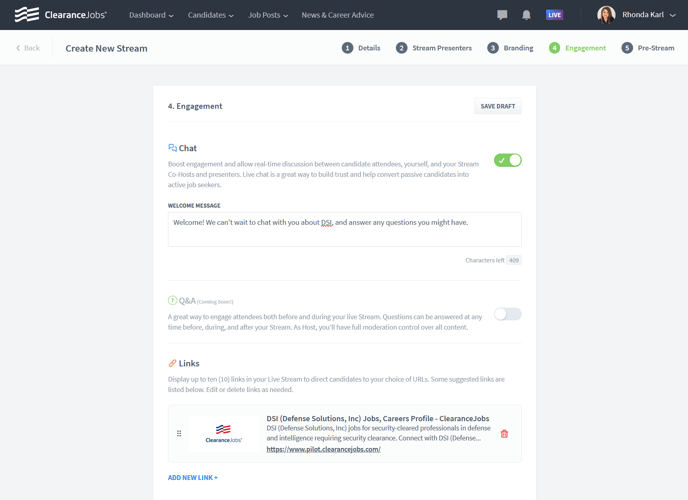
Adjusting your engagement settings is the next step. You can activate your Stream chat, add a welcome message, and add links to your Stream here.
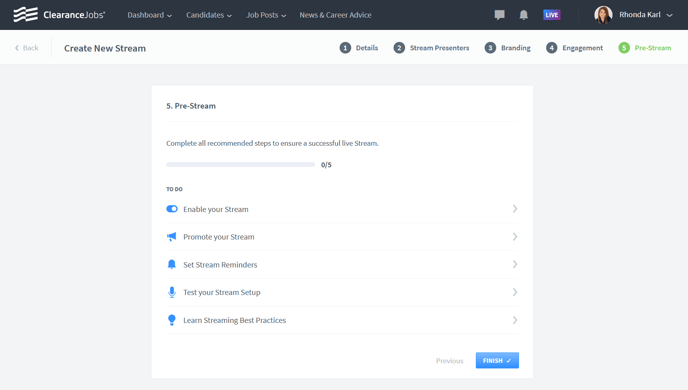
Finally, you will finish setting up your Stream by working through the recommended steps to make your Stream successful. Each of the steps found in this widget will help promote your Stream to candidates, and make the streaming process as seamless as possible.
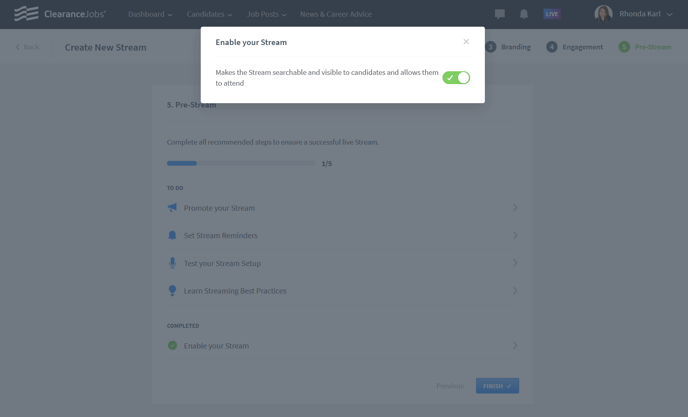
The first step is enabling your Stream, which is crucial to getting candidates to attend your Stream.
You will also want to promote your Stream by posting a Status Update with the details of your event. Pin that Status Update to the top of your profile, message individual candidates about your Stream, send a Broadcast Message, and even update your Cover Photo to promote your Stream.

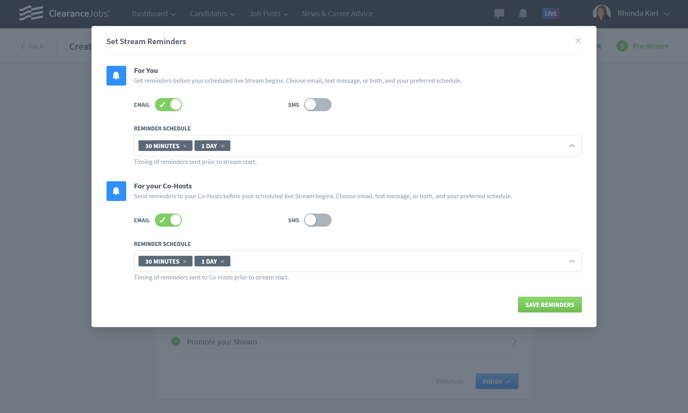
Be sure to set Stream reminders for you, and your Co-Hosts:
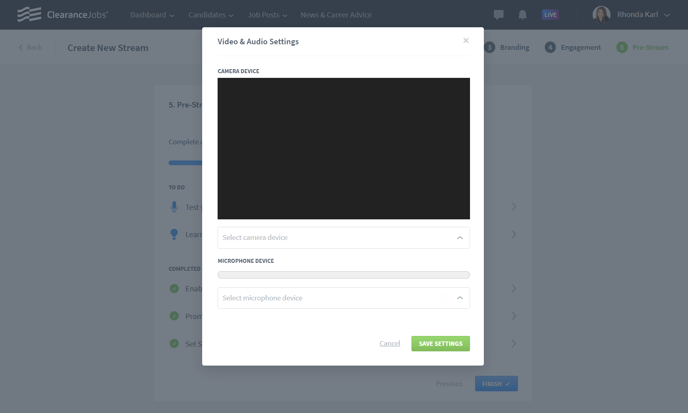
Next, you will want to set up and test your camera and microphone:
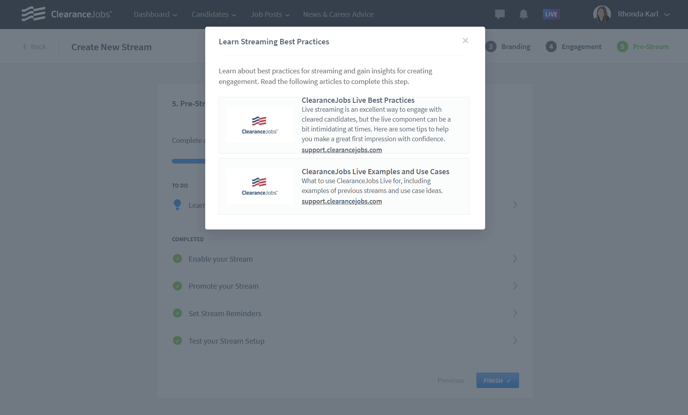
 Finally, check out the best practices articles to set yourself up for the most success during your Stream.
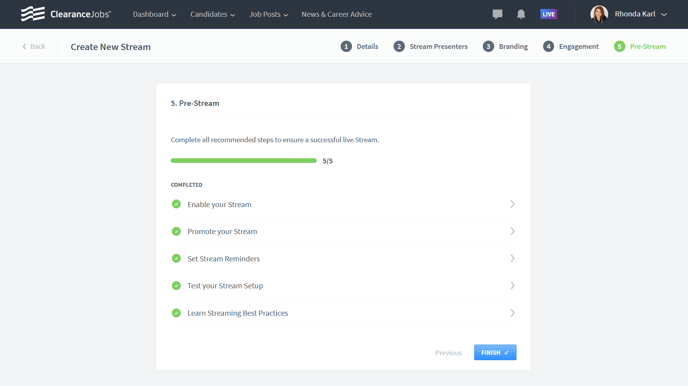
 Once you complete all of the Pre-Stream steps, you will be fully prepared for your upcoming Stream. Select "Finish" to see all of your upcoming streams.
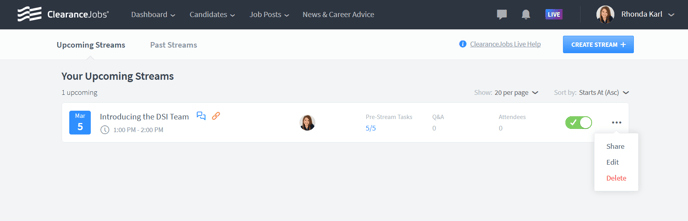
 When you click the "Live" button on the top right portion of your screen, you will see all of your upcoming Streams. On this page, you can choose to share, edit, or delete each event. Additionally, you'll have access to view the statistics for both your upcoming and past Streams.
POST-STREAM STATS
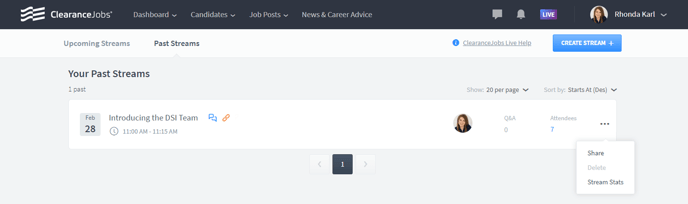
To navigate to your Stream Stats, go to Live, and then select "Past Streams" from the top banner. Here you will find all of your past Streams. On the far right side, you can select the ellipsis which will bring up a drop down menu with options to Share the Stream, or view Stream Stats.
The Stream Stats provide users with details such as the Stream title, date of the event, selected duration, actual duration, number of registered candidates, and the number of attendees.
The report includes two tabs: Live Stream Report displays the names of attendees, their registration status, the time they joined the event, their viewing duration, any instances where a recruiter had to remove a candidate, and the time the candidate exited the stream. 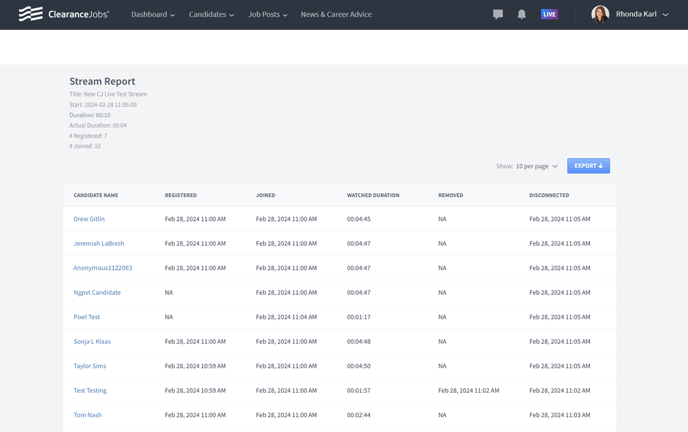
The Recorded Views tab displays the attendee names, the duration watched, and when.
To export these reports, simply click on the blue "Export" button.